• Home
    • Our Board
    • Our Team
    • Contact Info
    • Nondiscrimination Policy
    • Center for Child Development
    • Enroll Your Child
  • News & Stories
    • Send a Note
    • Board Member Information
    • Community Partners
    • Employment Opportunities
  • Shop
  • Teaching Tools
    • Summer Camp
    • 1st through 4th grade camp
    • Camp FAQ
  • Donate
Menu

Play Frontier

1111 Hemlock Road
Carson, WA, 98610
5417881910
Conserving Childhood

Your Custom Text Here

Play Frontier

  • Home
  • About
    • Our Board
    • Our Team
    • Contact Info
    • Nondiscrimination Policy
  • Schools
    • Center for Child Development
    • Enroll Your Child
  • News & Stories
  • Get Involved
    • Send a Note
    • Board Member Information
    • Community Partners
    • Employment Opportunities
  • Shop
  • Teaching Tools
  • Summer Camp
    • Summer Camp
    • 1st through 4th grade camp
    • Camp FAQ
  • Donate
Blog Header.png

News & Stories

The Homestead: Reading, Naturally

April 13, 2020 Tiffany Pearsall
Blog Banner Title Images.png

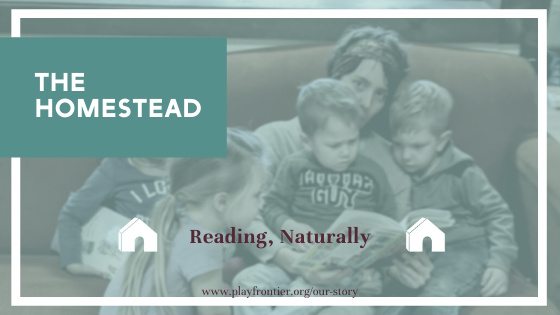
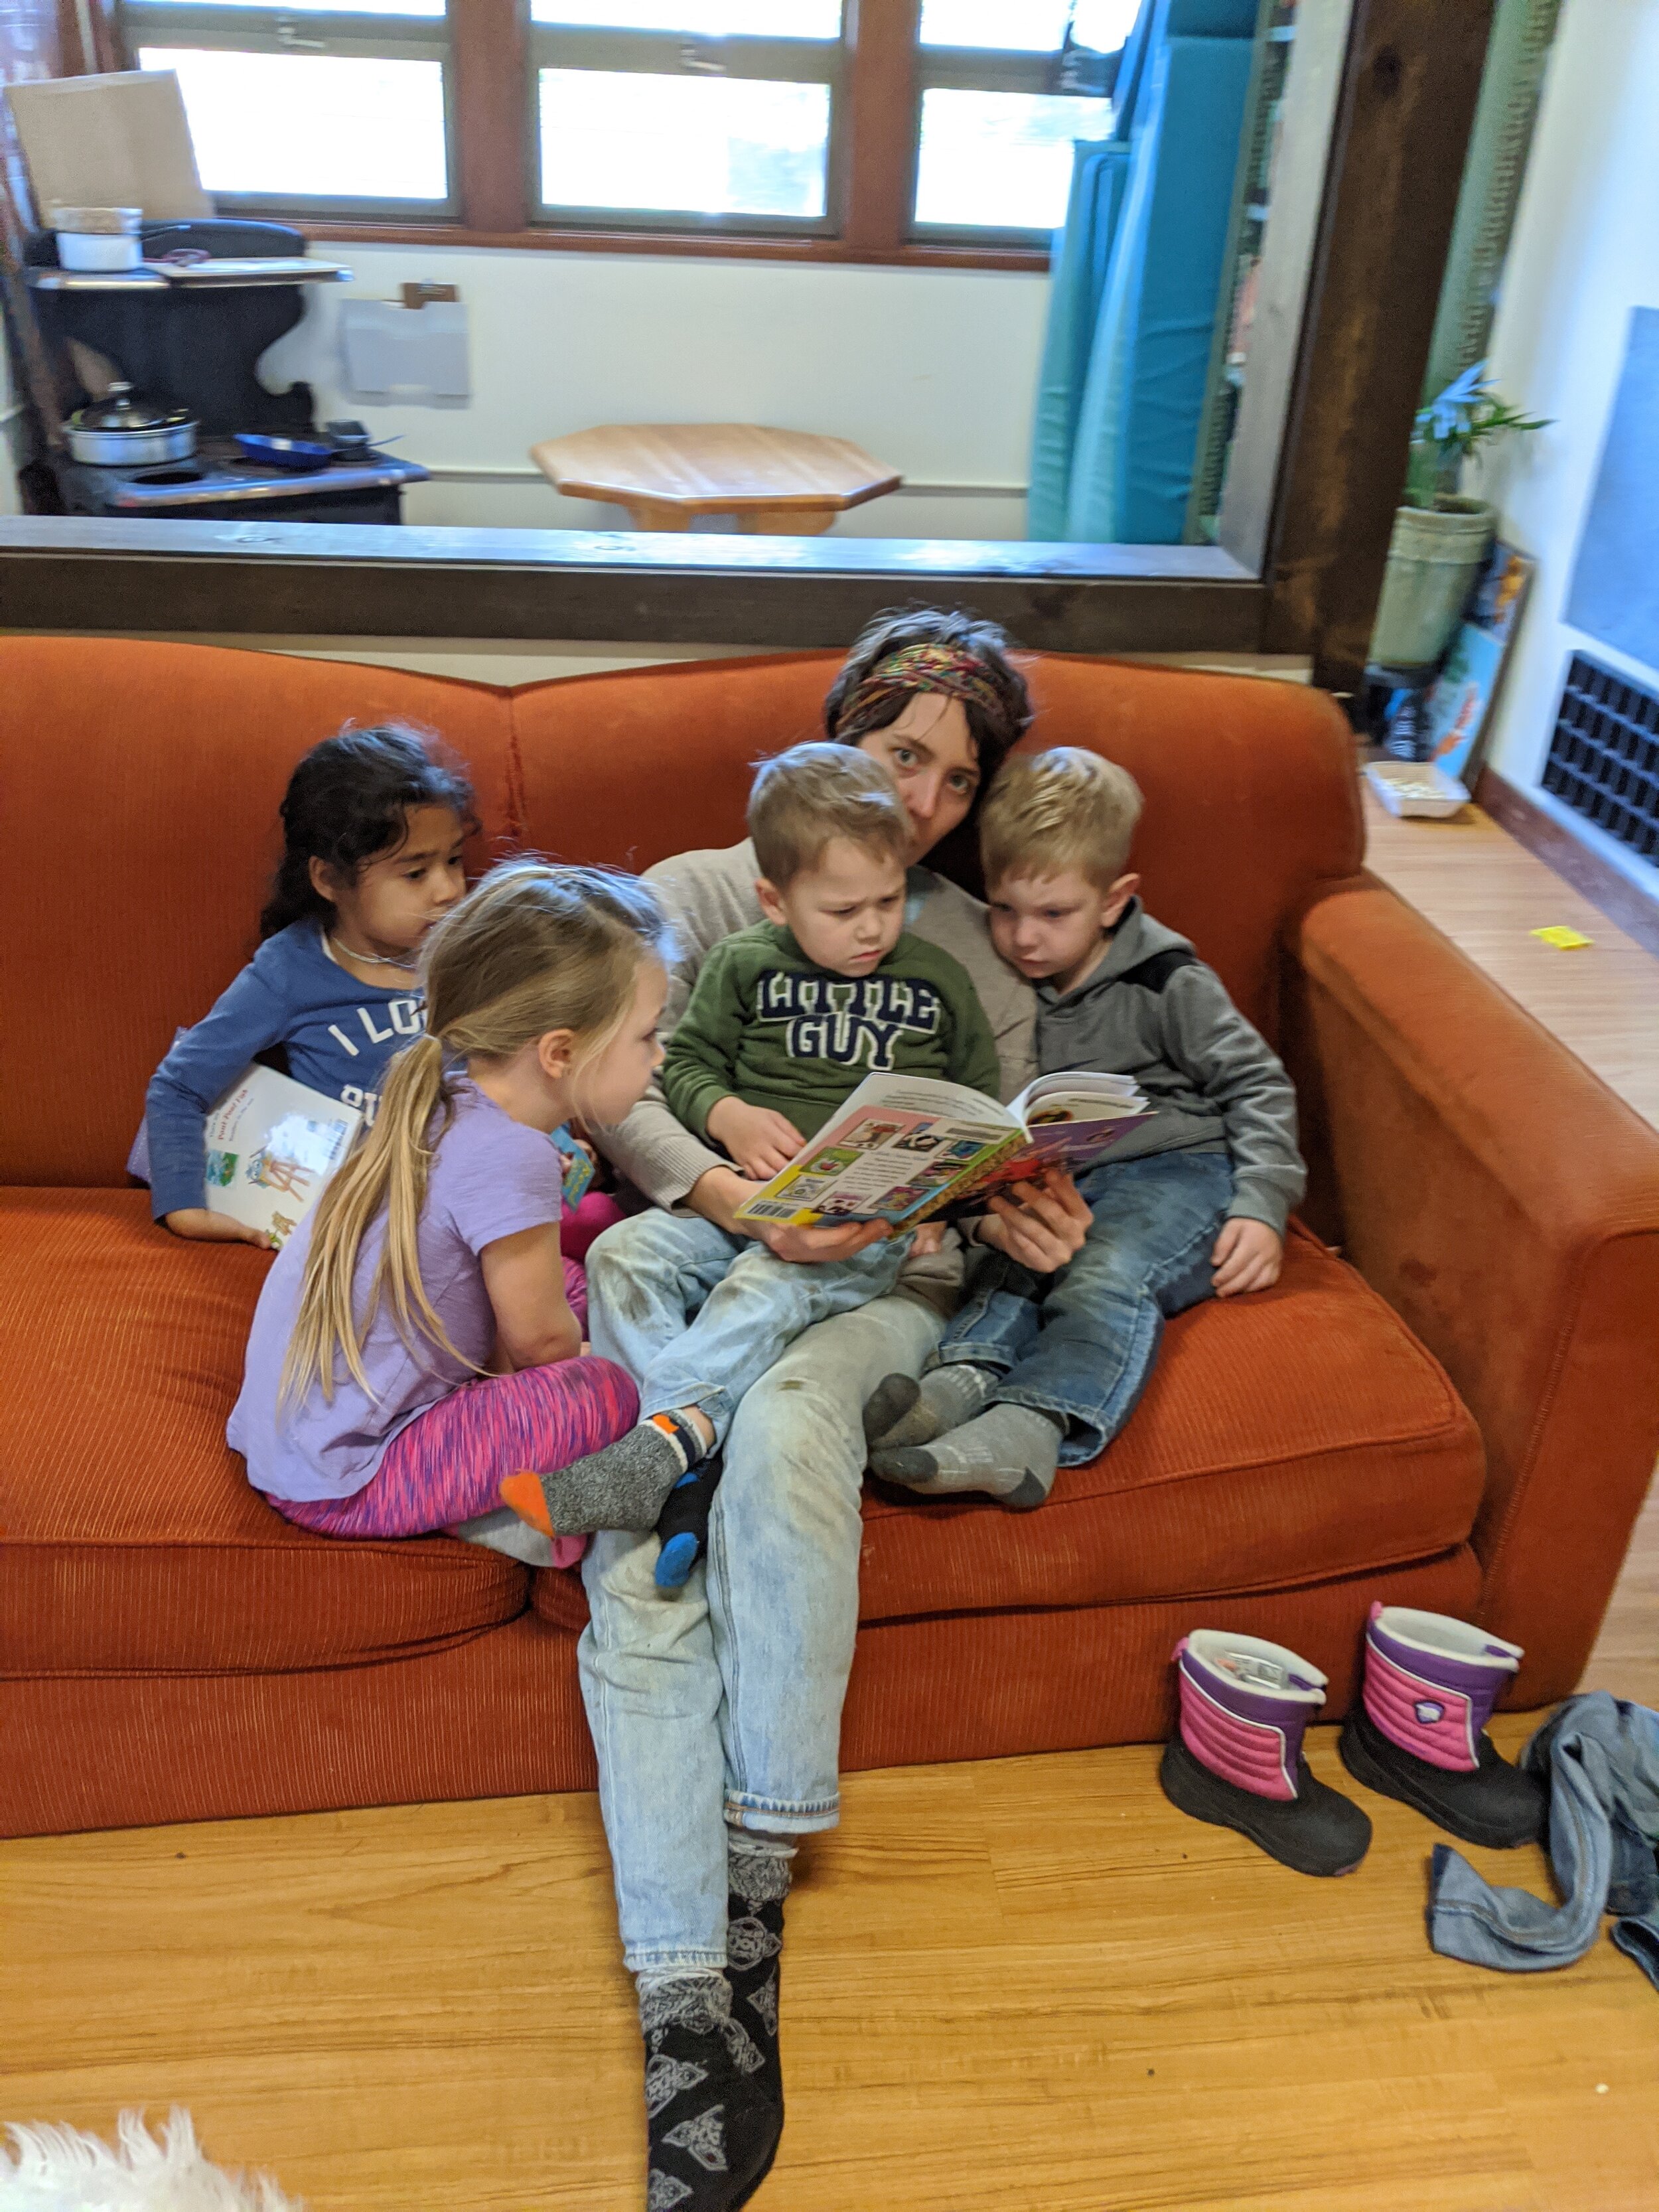
For whatever reason, learning to read at home has come up a bit lately and I thought I’d share some background about child-led reading. I’ll call it “reading, naturally” because you won’t see any set methods or phonics lessons or step-by-step workbooks here. Everything about teaching young children comes from within the child. They express an interest, show signs that they’re curious, and we as responsive caregivers jump in with suggestions to meet their new need (here, it is a need to read!)

Let’s Start at the Very Beginning

First of all, reading (along with everything else if you haven’t tuned in before) is something that starts at birth with the value you place on reading and written words. Yep, you read that right. At Birth. Do you read signs out loud to your kids? Covers of cereal boxes? Do you read the words you’re writing out loud to them if they ask about them, even if they’re ‘boring’ things like lists and W2s? You do?! GREAT. You are already doing the very first step toward teaching kids to read - valuing print! If YOU don’t see value in writing and reading, and use it like a tool that’s fully integrated into your day-to-day life, why should they? MODELING this relationship with print is very very very very very important, as it builds the foundation for your child even WANTING to read at all in the first place.

If you’re really into reading (like we are at our house!) then its just a part of life. My child was read to while he was in my belly, had chapter books read aloud to him as a newborn, and sees us reading all the time. This might be overkill for some, but for us, reading is a hobby we enjoy in addition to an important life skill.

I guess that’s the real secret to teaching a child to read… They have to ACTUALLY care and want to read.

A disclaimer: READING AND WRITING ARE INEXTRICABLY INTERTWINED. CHILDREN LEARN BOTH, SIMULTANEOUSLY, AND TOGETHER THEY FORM WHAT WE CALL LITERACY. THIS POST FOCUSES ON READING, ALTHOUGH WRITING MUST BE EQUALLY SUPPORTED IN THE READING JOURNEY.

Some Signs

After you’ve laid the groundwork by including your child in living your life (that sounds harsher than its meant, just go with me on this one), they’ll start to seek that independence. Typically kids seek this independence in obvious ways, like the 3 year old who needs to change clothes 800 times before settling on an outfit, or refusing to eat anything but peas for two weeks.

With reading, it looks a little different, and noticing the signs will help you provide the right tools. The point here is that you set the environment by having the right books and tools available, and your child will naturally pick them up when they’re ready.

Key signs a child is ready to read:

  1. They are interested in their own name and specifically the letters in their name. Maybe they can recognize it.

  2. They ask what every printed word actually says.

  3. They ask for the same books to be read over and over, and memorize the words.

  4. They point to one word at a time.

  5. They point or follow along in the correct direction.

  6. They understand the basics of “how to book,” meaning they hold it right side up and flip through pages one at a time, generally starting at the beginning.

  7. Sometimes they’ll ‘read’ to themselves by re-telling the story or ‘reading the pictures.’

View fullsize We found a new map, better read it!
We found a new map, better read it!
View fullsize Reading and snuggling, very important.
Reading and snuggling, very important.

Supporting a Natural Reader

The first rule of natural reading is that EVERYTHING is reading! Believing that your child can read, and showing them that reading is more than just the direct letters on a page, will boost their confidence and encourage them to keep going.

I can’t tell you how many times I’ve heard well-meaning parents tell me that their child has memorized a whole book but can’t actually read it. Yes they can! Memorizing sight words and knowing what words correspond to which page is absolutely reading! Give them the gift of confidence here instead, and just call it reading. Same goes for ‘reading’ a point-and-shout book… you know, the book where there isn’t a story its just a page full of things with names under them? Yep, shouting the right word means you can point to the actual letters and say something sweet like, “Wow! Did you just read that word because that’s what it says!”

Here’s the thing. Children need to see themselves as readers before they actually decipher print into a cohesive story.

Handy Tools: Change the Environment, Not the Child

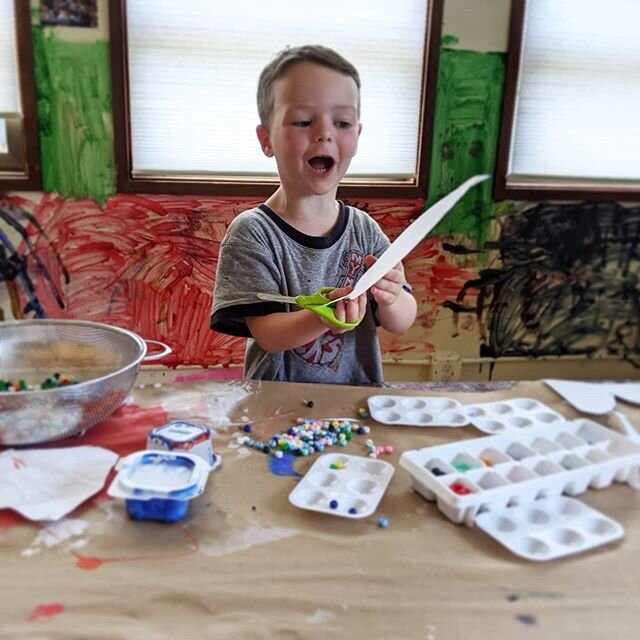
Having some quality books around to read over and over and over, and some toys to go along with those books, is a GREAT way to build up a reading-friendly child environment. Another strategy is to use written labels to help with things around the house (called environmental print, you’ll see it all over the place in classrooms). The idea is that they see the words over and over enough that they’ll memorize the shape. Then when they see it somewhere new, they’ll be reminded of what they already know!

The books

Here is a big Amazon list of all of my favorite first reader books. I’ve picked these books because, after 10 years of teaching, these are the old reliables. I’ve seen more kids teach themselves to read by loving and memorizing these books than any others! Usually kids migrate to two or three of these that really call to them, so find your child’s faves and stick with them! Here’s the list, in no particular order:

  • “No David!” by David Shannon, and all the other David books

  • “Today I Will Fly” by Mo Willems, and all the other Elephant and Piggie books

  • “Brown Bear, Brown Bear, What Do You See?” by Bill Martin Jr., illustrated by Eric Carle, and all the other “Shat do you see?” books

  • “Chica Chica Boom Boom” by Bill Martin Jr. and John Archambault, illustrated by Lois Ehlert

  • “Green Eggs and Ham” by Dr. Seuss, and all his other ‘easy readers’ too

  • “Don’t Let the Pigeon Ride the Bus” by Mo Willems, and all the other Pigeon Stories

  • “Go, Dog, Go!” by P.D. Eastman

  • “I Want My Hat Back” by Jon Klassen

  • “Little Blue Truck” by Alice Shertle, illustrated by Jill McElmurry

  • “Llama Llama Red Pajama” by Anne Dewdney, and all the other Llama Llama books

  • “199 Things…” series by Usborne books. GREAT point-and-shout for toddlers, and they transition up well!

  • “Buildablock” series. Again, great for toddlers and they transition well to reading.

  • Last but not least… “BOB Books”! Having these around, and other more targeted “early reader” books, is also a fine idea… a good one even! The nature of these books is that, if you read them in order, they build on each other in predictable ways. What I DON’T advise is to force a kid to read them to/with you if they don’t want to.

The tools

As far as toys and tools that support reading, here are my must-haves:

View fullsize IMG_20191120_084417.jpg
View fullsize IMG_20200407_110043.jpg
View fullsize IMG_20191210_144427.jpg
View fullsize IMG_20200227_113413.jpg
View fullsize IMG_20191122_110332_1.jpg
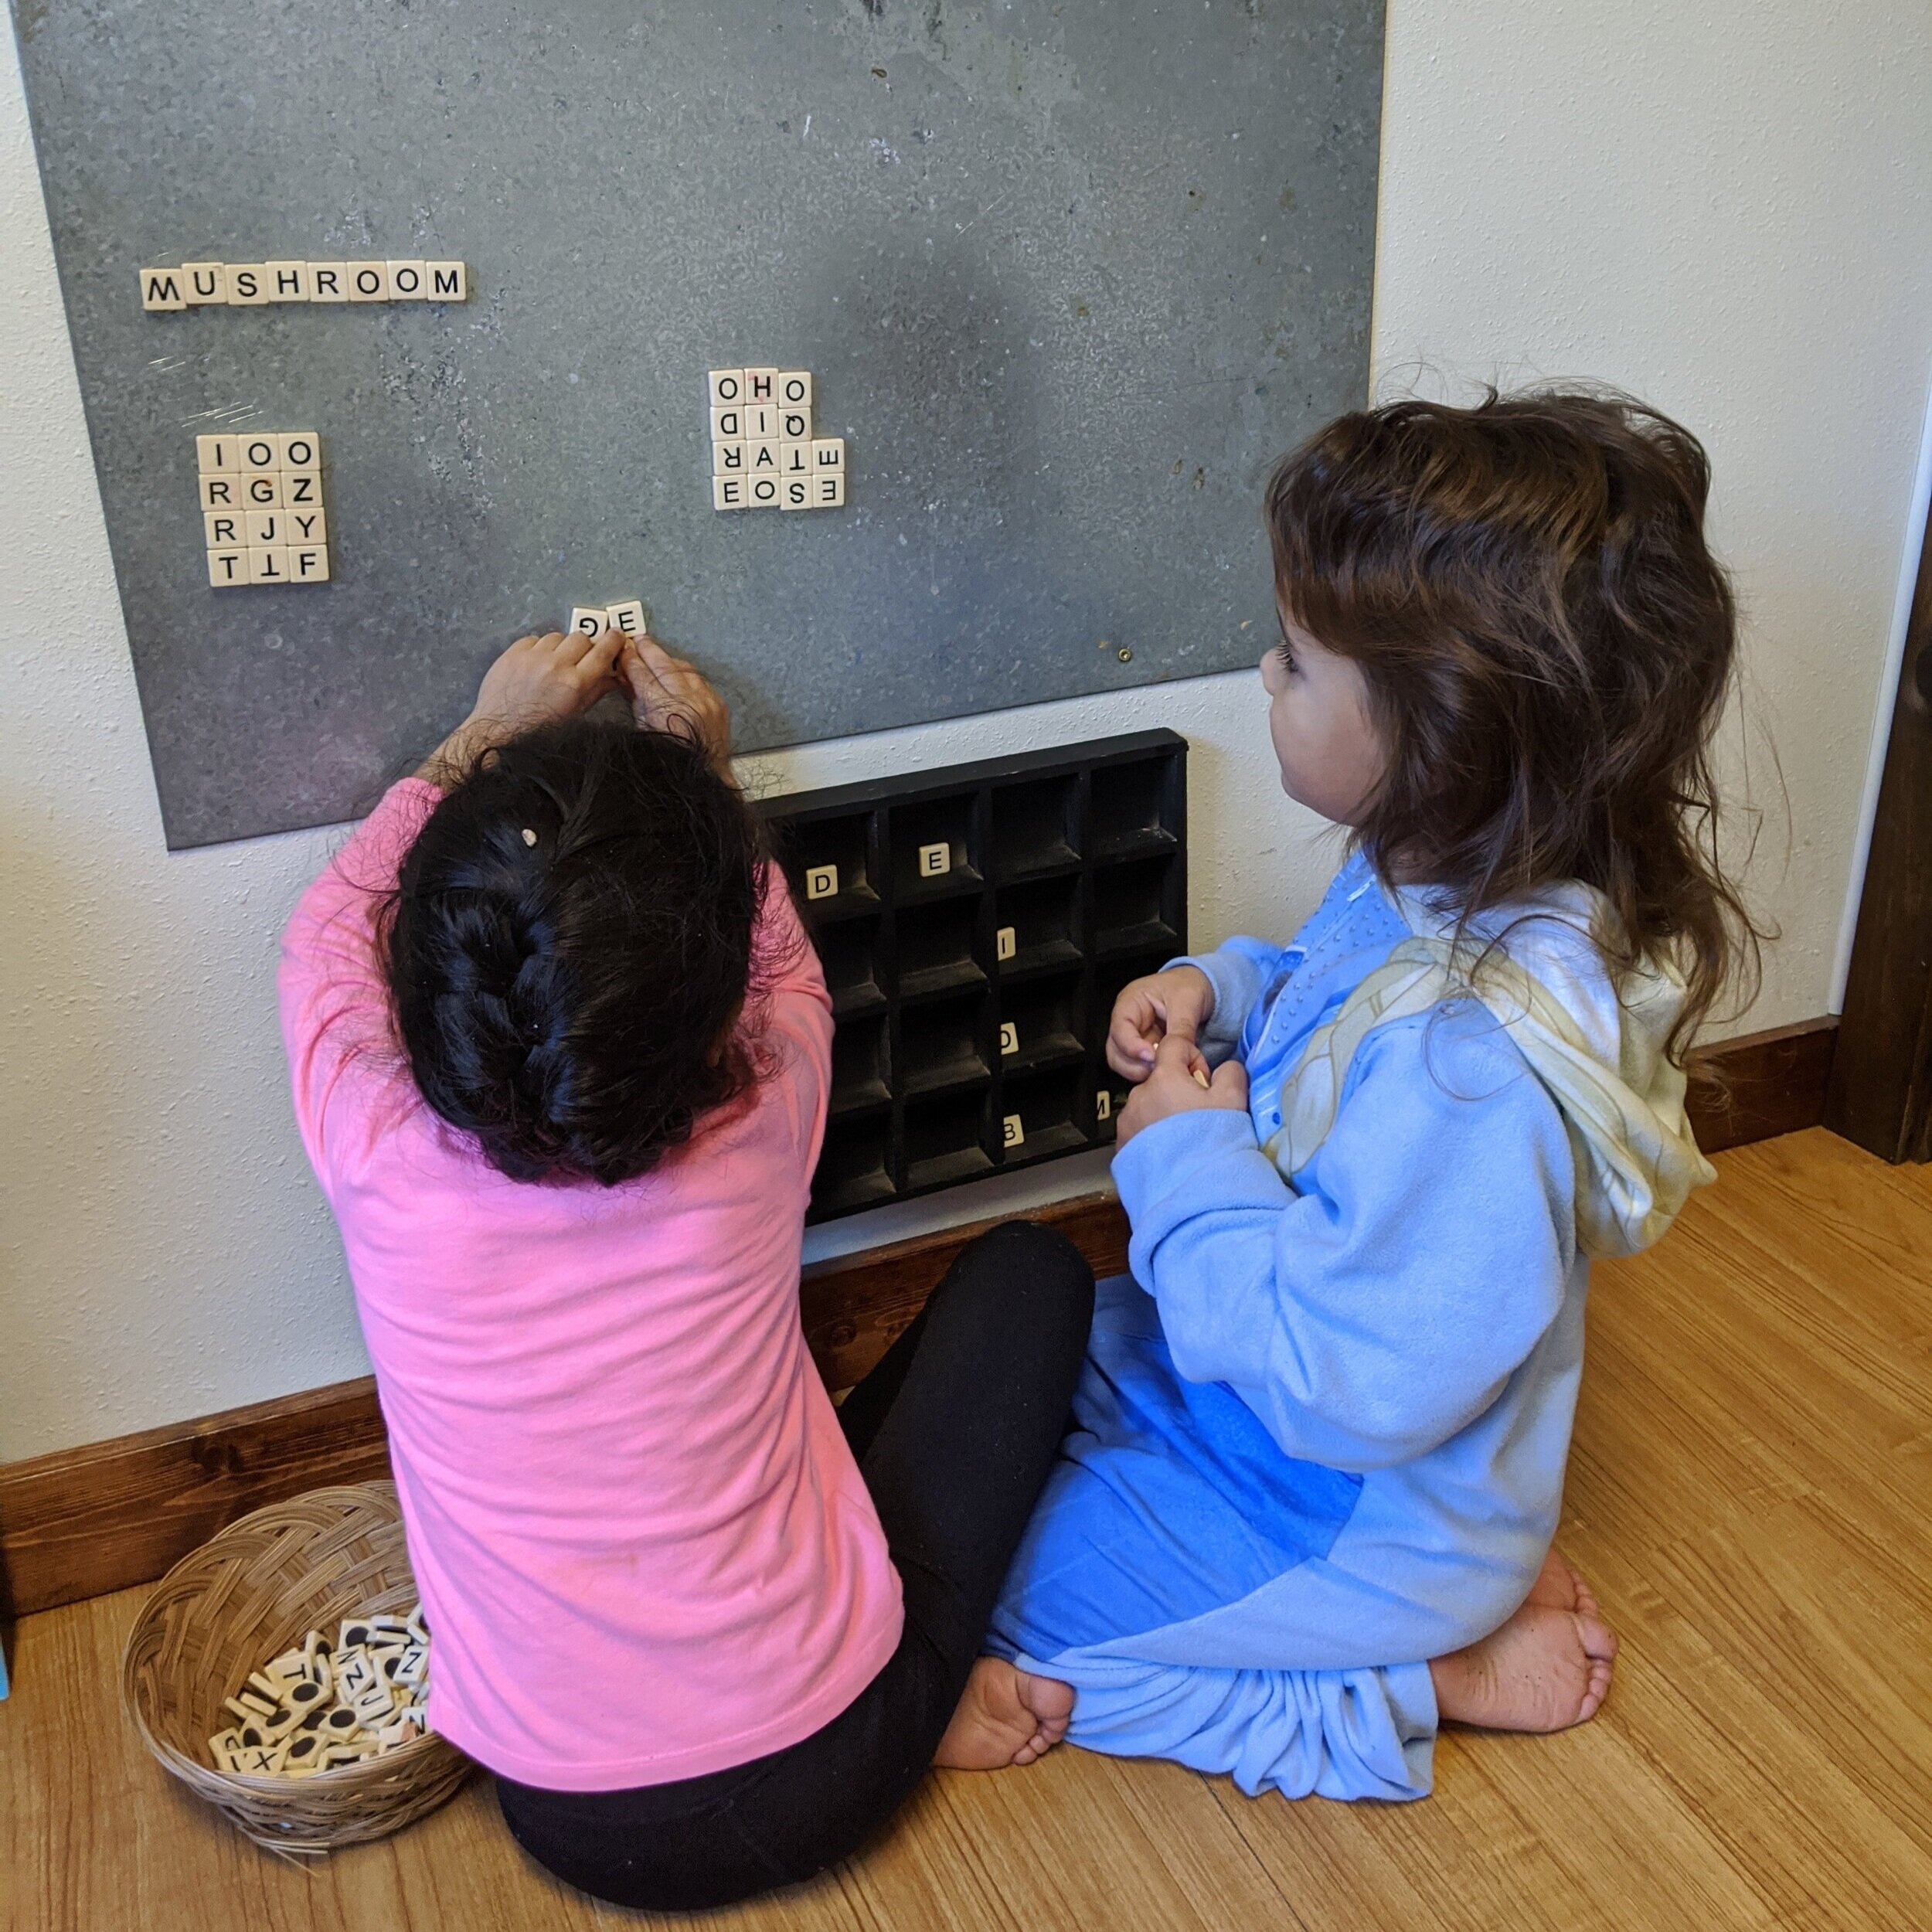
  1. Letter magnets. My preferred set is one I made from an old Bananagrams game. Stick self-adhesive magnets on the back and you’re set to jet! My set has lasted 10 years so far, so they’re pretty durable. I prefer these to other magnet letters because they fit nicely next to each other and encourage word-building along with plain old building-building in a cool way.

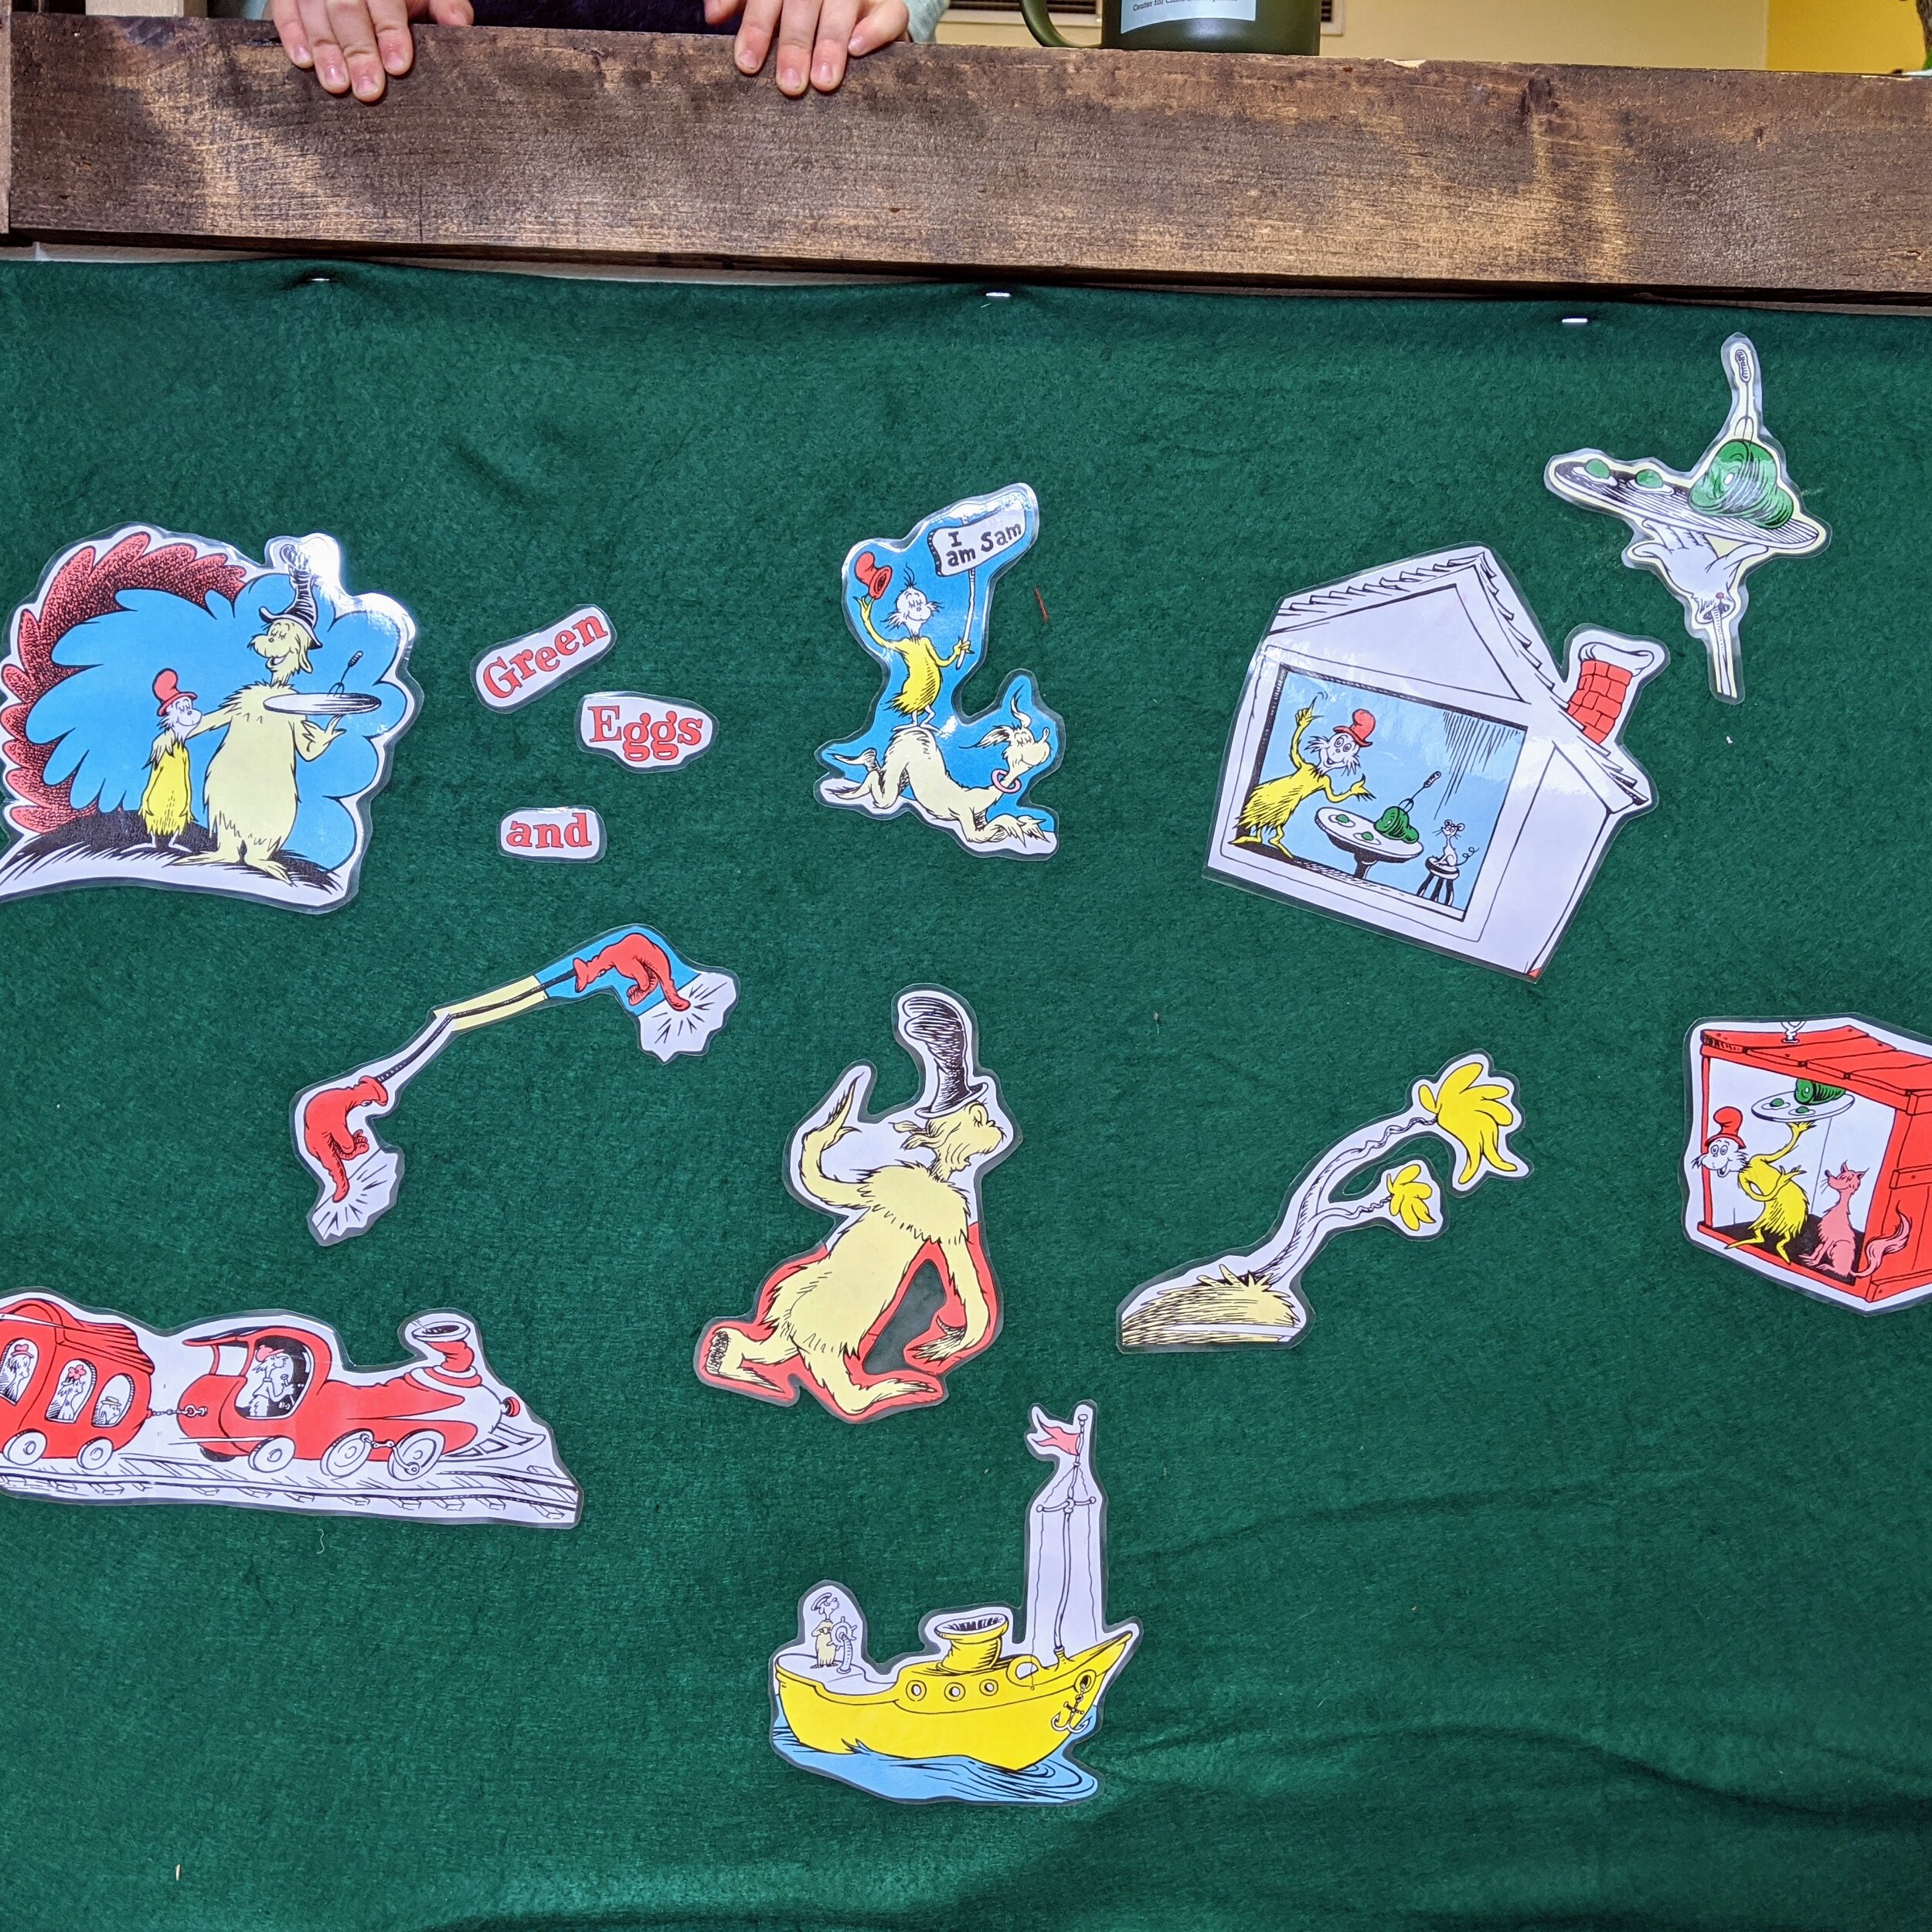
  2. Magnet or felt-board props to go with your child’s favorite book. The goal here is to encourage re-telling of the favorite easy-reader story so its flawlessly integrated into their play. This is super easy to do if your kid’s favorite book happens to have stuffed animals or little figurines that go with it (like stuffed animal Elephant and Piggie for example). I recently was stumped in our classroom because this group is OBSESSED with Green Eggs and Ham. Surprisingly slim pickins for G.E.A.H. swag, so I got creative and made some easy felt board characters. Next time a good book gets read so many times that it falls apart in your hands, consider cutting it up, laminating the favorite pictures and title, and slapping some velcro rounds on the back!

  3. Labels. All sorts of labels. Name labels, item labels, when you draw a thing write a label. Again, some things make more sense in a classroom because they’re not totally appealing from an interior design perspective. Another good one here is sign-making. Kids don’t want to clean up an art project? Make a sign that explains it to the whole family!

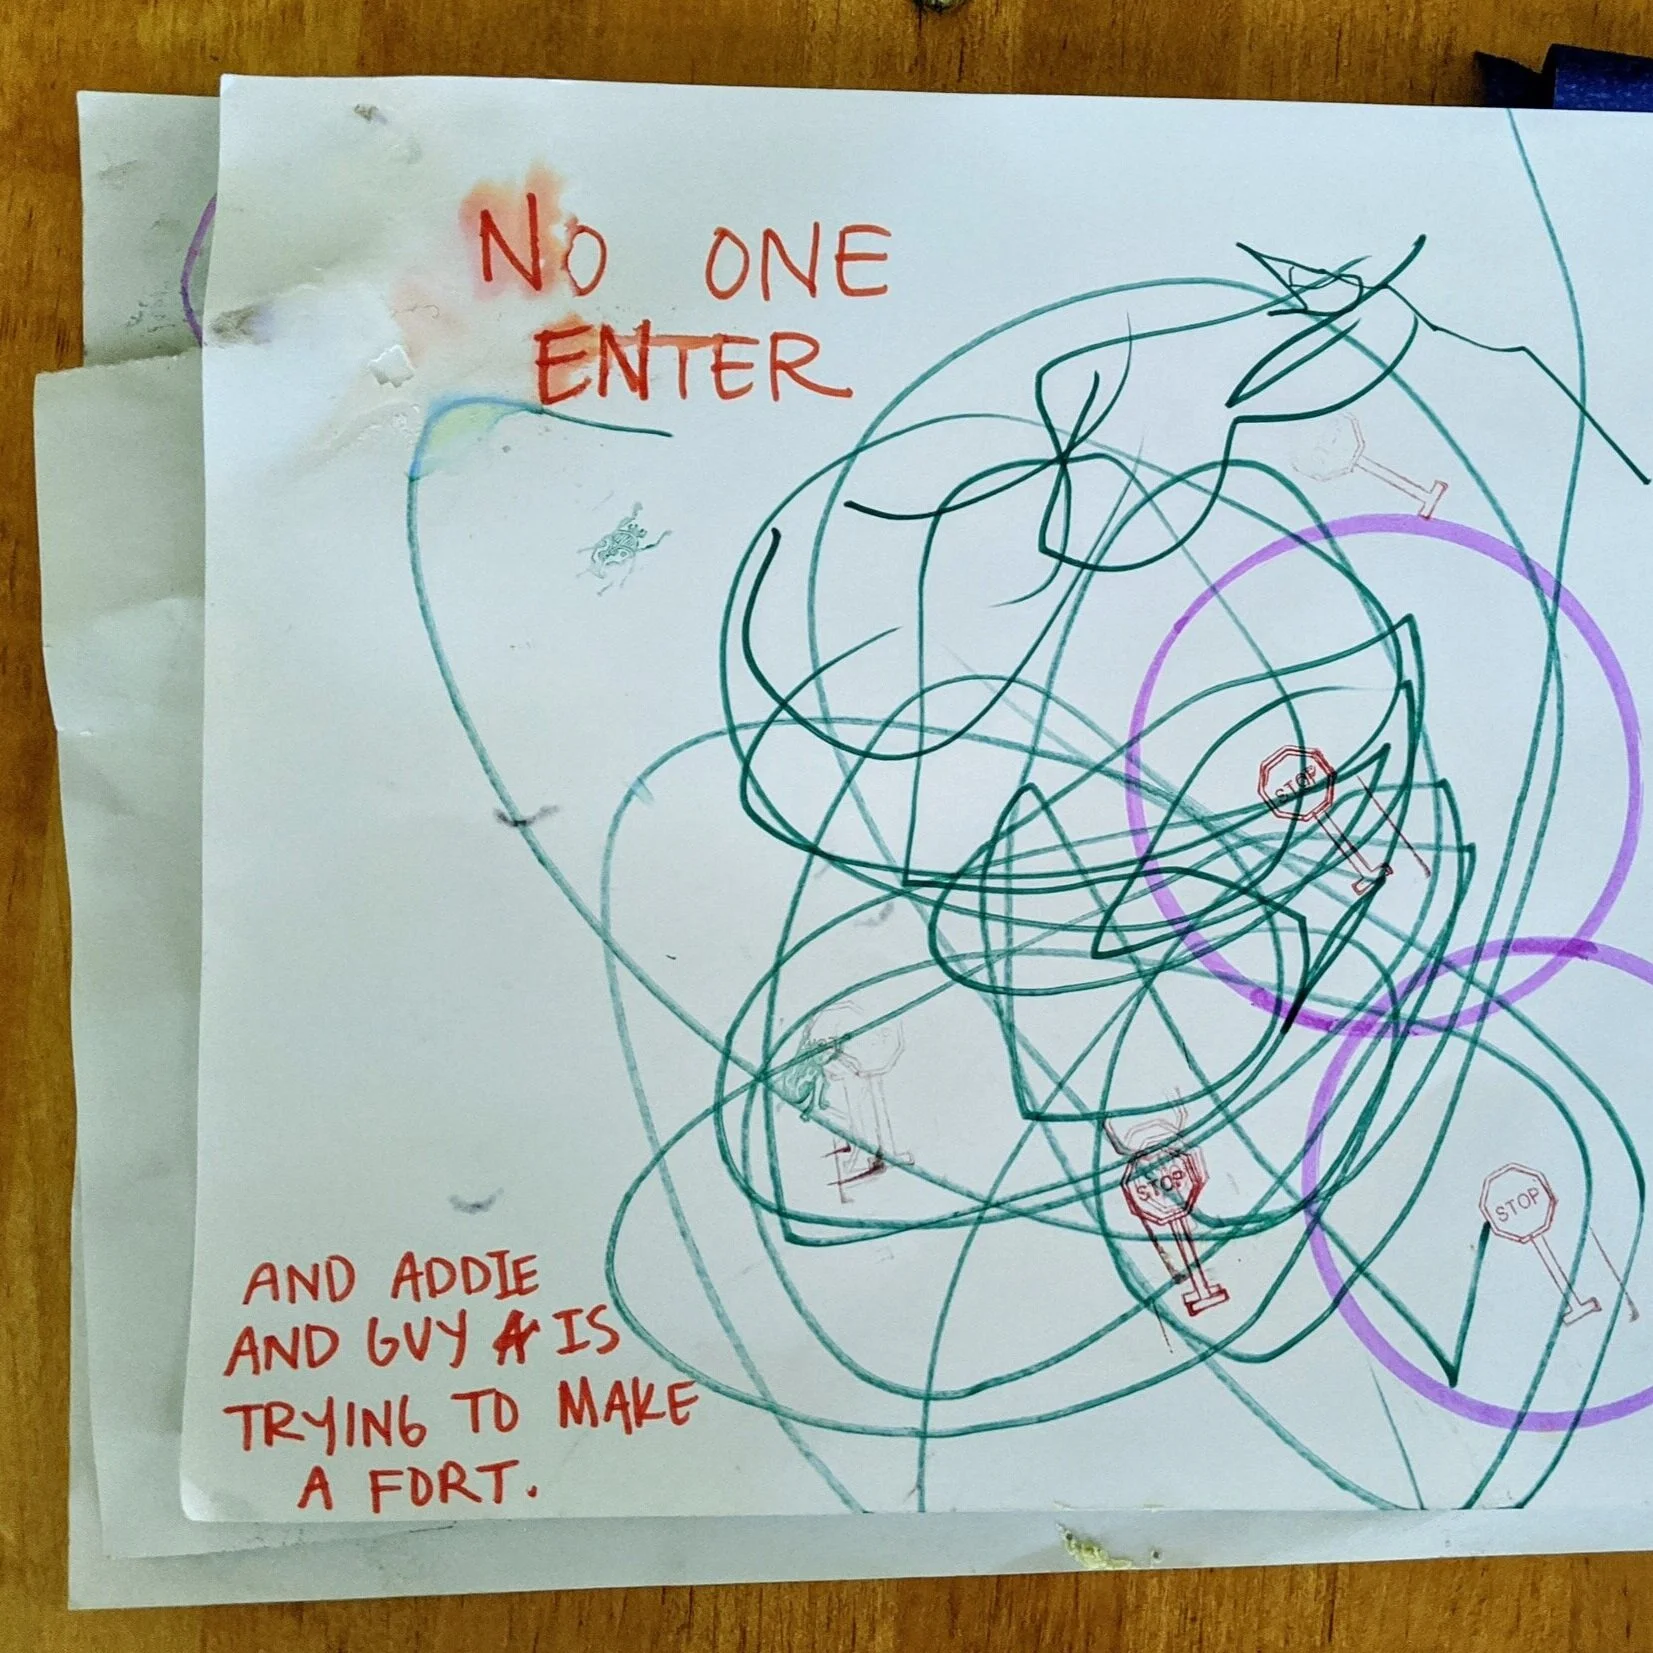
  4. Easy access chalkboard or whiteboard. Something that is up and available at a moments notice to write a word or draw a picture. Think of it as drive-by literacy!

  5. Environmental print. Anything that come in and out of your home, like food packaging and Amazon boxes and magazine titles. I also really love reading the bottom of Hot Wheels cars to see what their ‘official’ name is. Did you know there are words down there?! READ ALL THE THINGS!

  6. If you’re into screen time, there are some fun apps out there too! I think Endless Alphabet is one of the best, its a simple puzzle game that is great and worth every penny!

For the Nerds

I love a good deep-dive, so here’s some background information. I base everything I do in developmentally appropriate practice, meaning when I teach children I strive to approach every new situation through the lens of child development. I also strive for respectful caregiving, a nebulous term to describe treating children as equals while simultaneously keeping them safe and healthy. With that in mind, I spent a lot of the child-free summers of my teaching youth developing a system for describing children in a classroom that encompasses the whole child (with the help of some excellent friends and mentors of course!).

Today, we are coming at this from the perspective of reading, so I’ve gathered all the milestones specific to reading for children 0-5+. It’s basically the Language/Literacy corner of a DAP foursquare with the ages next to each other so you can see a powerful thing…

Infants are 0-12 months, toddlers 12 months to 2.5 years, preschoolers 2.5 years to 5+.

…Do you see where ‘reading’ is?! Holy cow. Look at all the other aspects of language and literacy that have to line up BEFORE the reading can take place. And really, all the physical and cognitive and socio/emotional pieces aren’t here, but they play a role in it too.

Please, in our rush to figure out how distance learning and quarantine homeschooling works, do not pressure your child to jump ahead of their own natural development.

Please please please, let your child play and enjoy this time at home.

With the tools and information I’ve given you today, may their play and their learning integrate flawlessly into one big happy kid.

Enjoy your day, and more importantly, enjoy your children,

-TiffAnY

In Empowerment, Learning, Nature Playschool, Play, The Homestead, Language/Literacy Tags child-led reading, Child-Led Learning, Language/Literacy, Learn Through Play, Learn to Read, Playful Learning
1 Comment

The Homestead: Bleach Tie-Dye DIY

April 6, 2020 Tiffany Pearsall
Copy of Blog Title Image Template.png

BrEAKING NEWS: NEW T-SHIrTS

Play Frontier has some new shirts for the whole family up on our website, WAHOO! We call them the “Play Compass” design, and they feature our logo with all of our little symbols (shout-out to Eliza Carver for her awesome design skills!). They look really sleek in all-black and are guaranteed to hide all the dirt and paint and berry-snacks-leftovers for kids…

View fullsize let-your-play-compass-guide-you-back-to-the-wild_mockup_Front_Flat_Black.jpg
View fullsize let-your-play-compass-guide-you-back-to-the-wild_mockup_Front_Boys_Black (1).png
View fullsize let-your-play-compass-guide-you-back-to-the-wild_mockup_Front_Boys_Black (2).png
View fullsize let-your-play-compass-guide-you-back-to-the-wild_mockup_Front_Girls_Black.png
View fullsize let-your-play-compass-guide-you-back-to-the-wild_mockup_Front_Womens_Black.jpg
View fullsize let-your-play-compass-guide-you-back-to-the-wild_mockup_Front_Mens-2_Black.jpg
View fullsize let-your-play-compass-guide-you-back-to-the-wild_mockup_Front_Mens-3_Black.jpg
View fullsize let-your-play-compass-guide-you-back-to-the-wild_mockup_Front_Womens-3_Black.jpg

…But we are bored at home and want to take these shirts to the NEXT LEVEL. And don’t want to leave or order tie-dye supplies right now…

… Say hello to the BLEACH-TIE-DYE method of your quarantine dreams!

We used a few simple ingredients from around the house (no store trip required!) to make some super awesome upgrades to our new Play Frontier shirts.

Download Bleach Tie-Dye DIY Instructions Here
View fullsize Women's Adult Play Compass T-shirt, Size M, "Fork Spiral" Dye Method
Women's Adult Play Compass T-shirt, Size M, "Fork Spiral" Dye Method
View fullsize Adult Play Compass T-shirt, "Wad-and-Go" Dye Method
Adult Play Compass T-shirt, "Wad-and-Go" Dye Method

Gather Your Tools and Ingredients:

Let’s do this! It takes about two hours from start to finish, counting washing machine time. You will need:

  1. 1 sweet Play Frontier t-shirt

  2. 1 C bleach

  3. 1 C cold water (Don’t make steam! Hot water makes bleach work less well, and you don’t want to breath in steamy bleach. Yuck!)

  4. Rubber bands. I like the big fatties that come on produce for the full shirt wrap, and tiny hairbands for more precise work. The tighter you make them, the more defined your final pattern will be!

  5. Bleach-safe bucket

  6. Bleach-safe utensil

  7. Bleach-safe surface

  8. Rubber gloves (you can use dish-style ones for this too, just be sure to rinse them well before dripping them anywhere)

Once the tools are assembled, the shirt making itself is pretty easy. Find any “DIY Tie-Dye” instructions for rubber banding patterns. The list here over at Parents.com was really helpful! I personally like “fork spiral” method, and my husband likes the "wad-and-go” method. They both have a great bang for your buck as far as easy wrapping and great results go.

IMG_20200331_170354.jpg

Step 1: Wrap Your Shirt

Our two favorite methods are the “wad-and-go” method and the “fork-spiral” method. The wad-and-go is exactly what it sounds like. Wad it and twist it all willy-nilly, add as many rubber bands as you want. It’s hard to go wrong with this method! Another fun way to do this is to have kids put the little rubber bands on anywhere they want, then wad and go. The fork spiral is a little fancier but looks awesome every time. Here’s how to fork spiral:

View fullsize Place fork where you want the center of the spiral
Place fork where you want the center of the spiral
View fullsize Twist in same direction until wrapped
Twist in same direction until wrapped
View fullsize Add lots of rubber bands to secure
Add lots of rubber bands to secure

Step 2: Bleach Bath

Once you’re fully banded, GROWN-UPS ONLY dunk the shirt until it’s completely submerged, and hold it there for about 1 minute. I used the fork to push this one down the whole time, do NOT use your bare hands with this concentration of bleach!!! I used the fork again to scoop it out.

Remove from the water and let it sit for as long as you want. We did ours for 1 hour, although you can do more or less as you see fit. Whenever it gets to the shade you like, you’re ready for the next step!

View fullsize Just after 1 minute dunk
Just after 1 minute dunk
View fullsize 30 minutes after dunk
30 minutes after dunk
View fullsize 1 hour after dunk
1 hour after dunk

Step 3: Rinse and Wash

This step is an EXTRA CAREFUL step. Make sure you don’t drip anywhere. Always use cool water so you don’t inhale bleach steam. GROWN-UPS ONLY!!! Give it a little pre-rinse, then remove the rubber bands and rinse rinse rinse rinse until all the water runs clear. After that, wash it in a washing machine by itself so you don’t accidentally dye/bleach your other clothes!

View fullsize Do a preliminary rinse right away
Do a preliminary rinse right away
View fullsize Remove rubber bands and rinse a lot
Remove rubber bands and rinse a lot
View fullsize Ready for the washing machine
Ready for the washing machine

Step 4: Wear

This is my new favorite shirt, it turned out so cool! Can’t wait to see all of your shirts too!

The Homestead Bleach Tie Dye DIY.png
 
IMG_20200401_194834.jpg

Bleach tie-dye is my new favorite thing. Can’t wait to see what it looks like on other colors!

Enjoy your shirt, and more importantly, enjoy your kids!

-TiffAnY

In Learning, The Homestead Tags DIY, Fundraiser, Nonprofit, T-Shirts

The Homestead: Playful Playdough

March 31, 2020 Tiffany Pearsall
Blog Title Image Template (3).png

PlAYdough! PlAYdough! PlAYdough!

Playdough is one of our FAVORITE things to do, both at school and at home! We have a fail-safe, no-cook recipe that is just magic. Here’s the thing. Playdough recipes are basically all the same. Just like pie crust, its getting a feel for it and doing it over and over that realllllly dials in your playdough making skills. I’ve also written this recipe in a SUPER kid-friendly way, with the goal being that your child can help you with the making of it too!

Step 1: Assemble your tools

You will need:

  • 1/2 cup measuring scoop. Specifically a 1/2 cup scoop, because if you want to minimize dishes and maximize helping, this is how you do that with only ONE dirty scoop and it adds EVEN MORE MATH to this conversation already. I’m calling this ‘one scoop.’

  • 1 Tablespoon scoop. Again, specifically this size. I’m calling this ‘one spoonful.’

  • 1 large bowl

  • 1 large non-wooden spoon (or else all of the dough just sticks to the spoon like glue… like seized cheese even worse…)


Step 2: Assemble your ingredients

Don’t let me confuse you here with this list of ingredients. Just make sure you have enough of each one but DON’T MEASURE IT YET. Do that part in step 3. For now, just make sure you have at least:

  • 2.5 cups flour

  • 1/2 cup salt

  • 2T cream of tartar

  • 2T cooking oil

  • 1.5 cups boiling hot liquid (water or tea!)

  • Any desired dry spices

  • Any desired liquid oils/scents/colors

  • 1 cute lil kid

Step 3: Make it with your child

  1. In a large bowl, scoop out 4 scoops flour and 1 scoop salt, 2 spoonfuls cream of tartar, and 2 spoonfuls vegetable oil. Add any dry spices now, and stir until its all evenly mixed.

  2. In a separate, heat-proof container, heat up 1.5 cups of water to boiling. Once it’s done, add any colors and liquid scents to the liquid here. In order for the playdough to actually work, the water needs to be hot enough and plentiful enough to fully dissolve the salt. Add in 3 scoops of this to the dry ingredients (1.5 cups)

  3. HERE’S THE SECRET STEP! Add the full 1.5 cups of liquid, and it will still be super-duper sticky and wild. (This is pure delight for a young child, don’t stress about the mess!) Stir and knead it with your very sticky hands until it cools a little, then slowly SLOWLY add one or two handfuls at a time of flour into the mix. The key here is to get the salt all melted and evenly distributed and re-cooled and THEN get it the right texture. It will harden up a lot as it cools, don’t make it over-dry or crumbly by rushing this step.

Pro Tip: Don’t use anything with a sugar base for this, or it will get sticky and you’re in ant/mold city, baby!

Step 4: playplayplay

Some pro-tips: Give your kid all of it at once! We are so used to the teeensy tiny amounts given in those delightful yellow tube-cans of ‘Pladoh’ that the idea of a whole mountain of it seems strange at first. BUT IT’S NOT IT’S JUST GLORIOUS. We put out a big plastic cutting board underneath it at home (mainly because The Kid loves using knives with his playdough most of all). Always mush it into one giant ball, then roll out into a log for storage (gotta reduce the surface area to reduce drying time), then roll all the air out of the bag and seal. To keep it extra super fresh put it in the fridge in between uses.

Playdough is pretty fun just as is, but we like to add a few kitchen tools to the mix too. I have fond memories of rifling through my grandmothers “mystery kitchen tools’ drawer, finding tools that haven’t seen the light of day since their purchase in 1972 and figuring out how they work while simultaneously cramming them full of playdough. Hard-boiled egg slicers, cherry pitters, jello molds…

…Maybe that’s why I love to cook so much today.

Want to download both the Playful Playdough Recipe and Play Starts ideas?

Download Full Playdough Recipe Here!

Final Thoughts: Playdough Rules

I could just leave you with some fun play ideas to ‘occupy your children’ while you attempt to work from home during this quarantine, but I promise that is NOT the goal here. Playdough is fully LOADED with learning - there’s a reason it’s a staple in preschool classrooms across the world! Here’s a quick developmental breakdown, using the “Developmentally Appropriate Practice” framework for you nerds like me:

This list is just the tip of the iceberg…. so are you a playdough convert yet?! IT REALLY IS THE BEST. Slap together a batch for your kids asap, and watch the magic unfold.

Enjoy your day, and more importantly, enjoy your kids!

-TiffAnY

PS - Need more inspiration? Want to share your ideas and pics of your fam enjoying the recipe? Follow us on Instagram @playfrontier, and tag your photos #playfrontierplaydough to get featured on the site!

In Learning, Growth, The Homestead, Recipes Tags Homemade Play, inside Play, Learn Through Play, Loose Parts, Play, Playdough
Comment
Older Posts →

seArch


support our CAuse

Like what we’re doing in our corner of the woods and want to support us? Play Frontier is a nonprofit nature playschool offering care and education to children 0-5. Our mission is conserving childhood through acceptance, education, and empowerment of children and families. Thanks for reading!

Donate
T-Shirts Here.png
 

from the Archives

News & Stories
Unwrapping the Dream: Child Care Building
Dec 24, 2022
Unwrapping the Dream: Child Care Building
Dec 24, 2022
Dec 24, 2022
65DECE8F-4205-4942-A193-F22AC7C23982.jpeg
Dec 21, 2022
Onward and upward
Dec 21, 2022
Dec 21, 2022
Required Reading: Nature, Play, and Childhood
Apr 14, 2020
Required Reading: Nature, Play, and Childhood
Apr 14, 2020
Apr 14, 2020
The Homestead: Reading, Naturally
Apr 13, 2020
The Homestead: Reading, Naturally
Apr 13, 2020
Apr 13, 2020
Copy of Blog Title Image Template.png
Apr 6, 2020
The Homestead: Bleach Tie-Dye DIY
Apr 6, 2020
Apr 6, 2020
Big and Scary
Apr 3, 2020
Big and Scary
Apr 3, 2020
Apr 3, 2020
1.png
Apr 1, 2020
HAPPY BIRTHDAY
Apr 1, 2020
Apr 1, 2020
The Homestead: Playful Playdough
Mar 31, 2020
The Homestead: Playful Playdough
Mar 31, 2020
Mar 31, 2020
Announcing the Play Frontier Homestead
Mar 27, 2020
Announcing the Play Frontier Homestead
Mar 27, 2020
Mar 27, 2020
Play Frontier featured in the Pacific Crest Trail magazine!
Oct 31, 2019
Play Frontier featured in the Pacific Crest Trail magazine!
Oct 31, 2019
Oct 31, 2019
View fullsize Glad I caught this sweet moment 🥰 two new friends, helping each other.
.
One of the reasons why we are passionate about multi-age classrooms is because of moments like this one.  An older child, close to kindergarten, stopping to teach a fresh presc
View fullsize
View fullsize We had so much fun on our adventures yesterday; Toddler trail hike, hugs, river, wildflowers, wild strawberry, birds, frog, butterflys, picnic table dancing....
#playfrontiertoddlers 
#hemlockrecreationarea 
#conservingchildhood
View fullsize The many faces of preschool... Welcome new friend! What a wonderful first day full of "grocery shoppin an K pretend ta be a kitty and S pretend ta be a owner and S paints. We made a little mess!" Tomorrow will be just as fun, and even more
View fullsize There are lessons in every act of play 💞
Last weeks toddler highlights:
#playfrontiertoddlers
View fullsize Sunshine days are here to stay 🌼 don't forget to PLAY!
View fullsize Happy Dad Appreciation Day to all our amazing parents !!! 💕
#playfrontiertoddlers
View fullsize This face!!! Someone cut a "leaf" out, all by himself, for the first full time ever. He got tired and never gave up. He whispered things like "I am powerful" and "I made it this far!" ...and then he finished and got to m
View fullsize 💕Oh, the sense wonder a big hole in the ground can inspire 💝+ 😍a few other gems from yesterday's play:
#playfrontiertoddlers
View fullsize "Whoa Tiffany, this is the best ice cream I've ever made!"
.
COVID has changed the way we do a few things, and the saddest one for the kids has been no more playdough. We decided to switch to one-time-use clay so kids wouldn't share germs a
Donate Today!
Learn More
 

“Children need a space to be fully accepted for exactly who they are.  We aim to be that place.” — Tiffany pearsall, FOUNDER

 
Frontier-final-files-WEB-banner.png

©2018 Play Frontier, LLC. All Rights Reserved.

Website by Eliza Carver